


Teardown is a sandbox game where you can destroy to your heart’s content. Similar to Minecraft, it is a voxel game, where everything in the world is created by blocks. However, the blocks in Teardown are much smaller, and the game uses a very impressive physics engine to simulate destruction of anything and everything.
Teardown supports mods and, as a result, enjoys a thriving modding community. Players can add anything from weapons and vehicles to maps in their game by adding downloadable mods. The simplest and safest way to do this is via the Steam Workshop. However, players can also download mods from other websites.
Download Mods via Steam Workshop
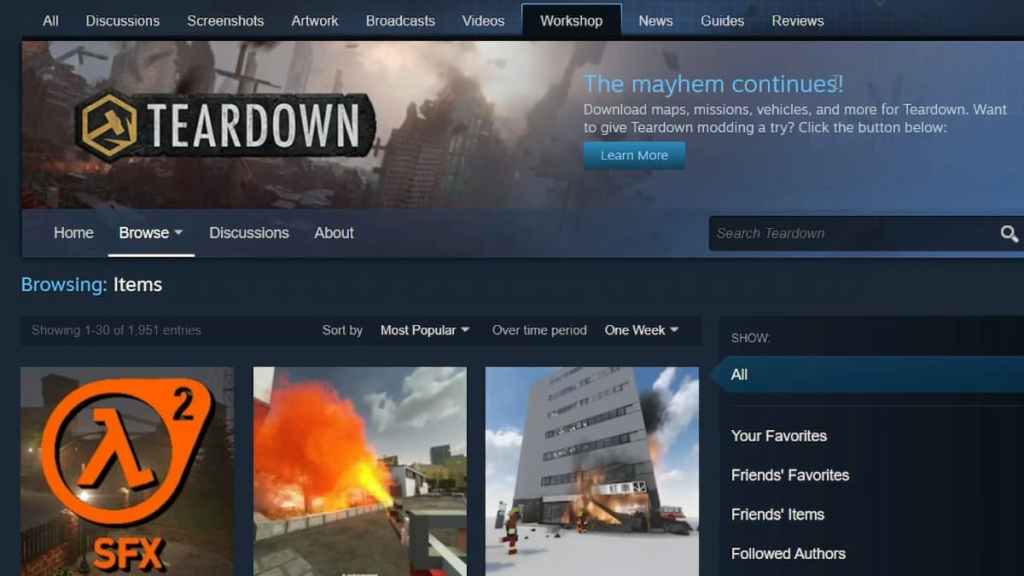
Downloading mods through the Steam Workshop is the safest way to do it, as these files are verified and constantly updated. In order to download a mod, players need to first locate Teardown from their Steam Library. Once in the game’s homepage, click on the Workshop tab located below the Play button to open the available mods list for Teardown.
From there, choose any mod that you wish to download and click on Subscribe. Then, simply start the game, click Play, and select Mods. The mods you subscribed to will show up on the Subscribed list.
Download Mods via websites
Players can choose to download mods that are not available in the Steam Workshop by downloading them from other mod-hosting websites like Teardown Mods and Nexus Mods. Here are the steps to install the mod after completing download:
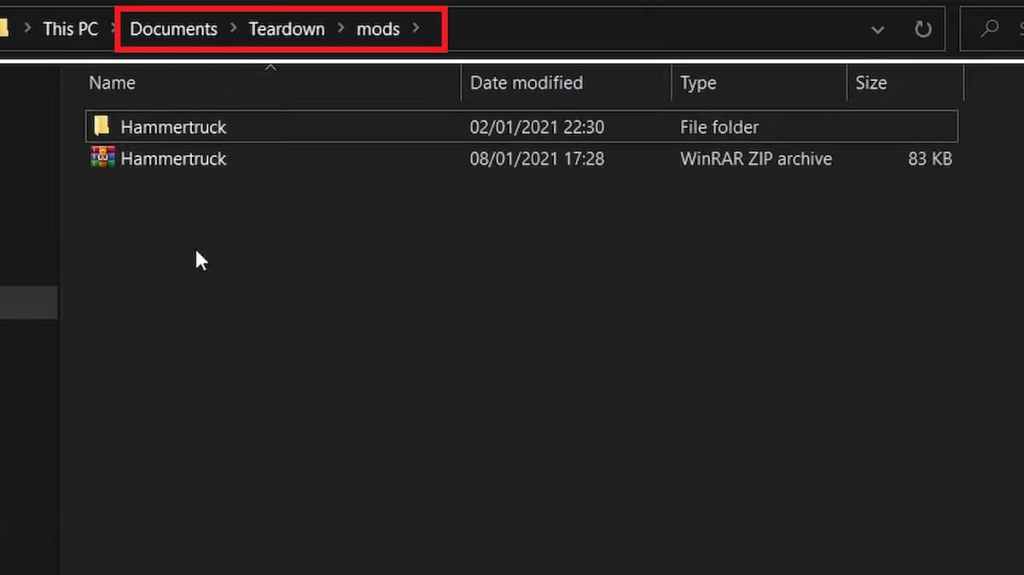
- Find the downloaded mods in the form of a zip file in your Downloads folder.
- Cut/Copy the zip file.
- Go to Documents > Teardown > mods
- Paste the zip file in the mods folder
- Extract the zip file using WinRAR
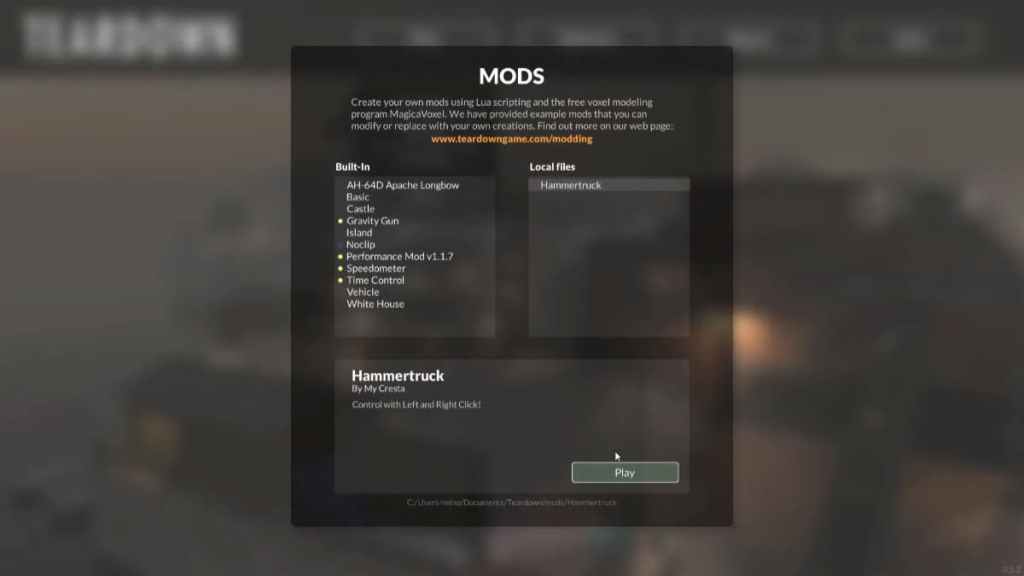
Once done, start up your game and go to the Mods list. There, the downloaded mod will show up in the Local Files list.
It’s important to note—mods downloaded from third-party websites may be corrupt files or just not compatible with your version of the game. Hence, we recommend downloading from the Steam Workshop.
🛠️ What You Need Before Installing Mods
Before you start modding, ensure you have:
- A legal copy of Teardown installed on your PC.
- A backup of your game files to avoid potential issues.
- Mod files, which can usually be found on platforms like Nexus Mods or Steam Workshop.
📁 Step 1: Locate Your Teardown Installation Folder
- Open Steam and navigate to your Library.
- Right-click on Teardown and select Properties.
- Go to the Local Files tab and click Browse.
- This opens the folder where Teardown is installed, usually something like
C:\Program Files (x86)\Steam\steamapps\common\Teardown.
⬇️ Step 2: Download Mods
There are two main sources for Teardown mods:
- Steam Workshop: If you own Teardown on Steam, subscribing to a mod automatically downloads and installs it.
- Third-Party Mod Sites: Websites like Nexus Mods host user-created mods. Download the mod file, usually in
.zipor.rarformat, and extract it.
💾 Step 3: Install Mods
For Steam Workshop Mods:
- Open the Steam Workshop page for Teardown.
- Click Subscribe to the mods you want.
- Launch Teardown, and the mods will automatically be loaded.
For Manual Mod Installation:
- Extract the downloaded mod file.
- Copy the extracted folder or files into the
Teardown/modsdirectory. If the folder doesn’t exist, create it. - Launch Teardown and check the Mods menu in the game to enable your new mods.
⚙️ Step 4: Verify and Manage Your Mods
- Some mods may conflict with each other. If your game crashes, try removing all mods and adding them one by one.
- Always read the mod instructions carefully; some may require additional tools or specific installation steps.
💡 Tips for a Smooth Modding Experience
- Keep backups: Always make backups of your save files before installing mods.
- Update regularly: Mod creators frequently release updates. Check for new versions.
- Use trusted sources: Avoid downloading mods from unknown websites to prevent malware.
simple and working 👍
thanks for feedback