


Half-Life 2 is a landmark first-person shooter that revolutionized the genre with its immersive storytelling, physics-based gameplay, and atmospheric world. However, if you’re looking to extend your time in the game or add new content, modding is the perfect way to breathe new life into this classic title. With mods, you can customize the gameplay, add new levels, improve visuals, and introduce entirely new experiences. This guide will walk you through the process of downloading, installing, and managing mods for Half-Life 2, whether you’re a complete beginner or an experienced modder.
Table of Contents
- Why Modding Half-Life 2 is Worth Your Time
- Where to Find the Best Half-Life 2 Mods
- Step-by-Step Guide to Installing Half-Life 2 Mods
- How to Organize and Manage Your Half-Life 2 Mods
- Troubleshooting Common Half-Life 2 Modding Issues
- Best External Resources for Half-Life 2 Modding
- Conclusion: Make the Most of Your Half-Life 2 Experience with Mods
1. Why Modding Half-Life 2 is Worth Your Time
Half-Life 2 is already an exceptional game, but modding allows you to take your experience to the next level. With mods, you can add new weapons, characters, levels, and game modes. Some mods improve the game’s graphics or enhance its physics, while others introduce entirely new storylines or even create multiplayer modes. The best part? The modding community for Half-Life 2 is incredibly active, meaning there’s always fresh content to try out!
Whether you want to explore new environments, challenge yourself with harder AI, or simply change up the gameplay, modding provides a great way to continue enjoying Half-Life 2. In this guide, we’ll show you how to download, install, and manage mods, allowing you to fully customize your gaming experience.
2. Where to Find the Best Half-Life 2 Mods
Trusted Websites for Downloading Half-Life 2 Mods
Before you dive into modding, it’s important to download mods from trusted websites to avoid potential issues like corrupted files or malware. Here are some reputable sites where you can find high-quality Half-Life 2 mods:
- ModDB – Half-Life 2 – A well-established platform with a huge library of mods for Half-Life 2, from graphics improvements to new game modes and maps.
- Nexus Mods – Half-Life 2 – A popular site for all kinds of mods, including textures, models, and gameplay enhancements.
These websites offer safe downloads with user reviews and ratings to help you select the best mods for your experience. Make sure to always check the compatibility and version of the mod before downloading to avoid any conflicts.
Types of Mods You Can Download for Half-Life 2
Mods for Half-Life 2 come in all shapes and sizes. Here are some of the most popular types of mods available:
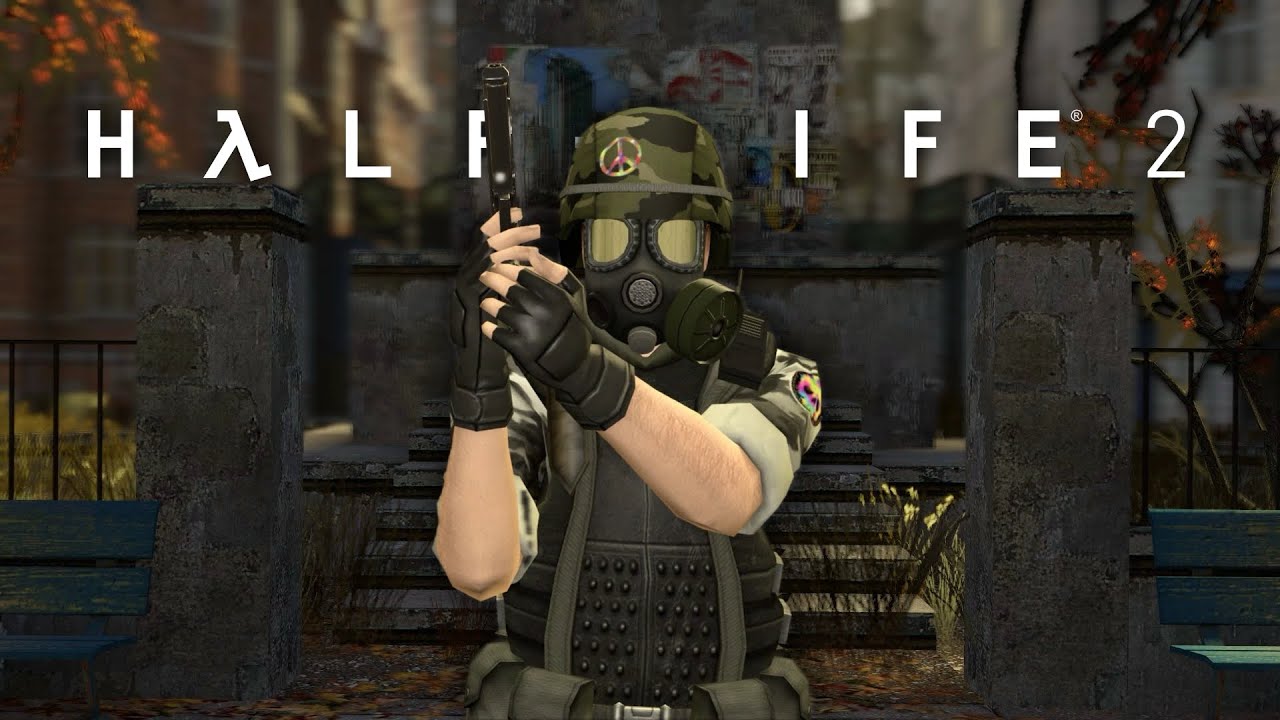
- Weapon Mods: Add new weapons or modify existing ones to suit your playstyle. Some mods introduce high-powered futuristic guns, while others focus on real-world weapons.
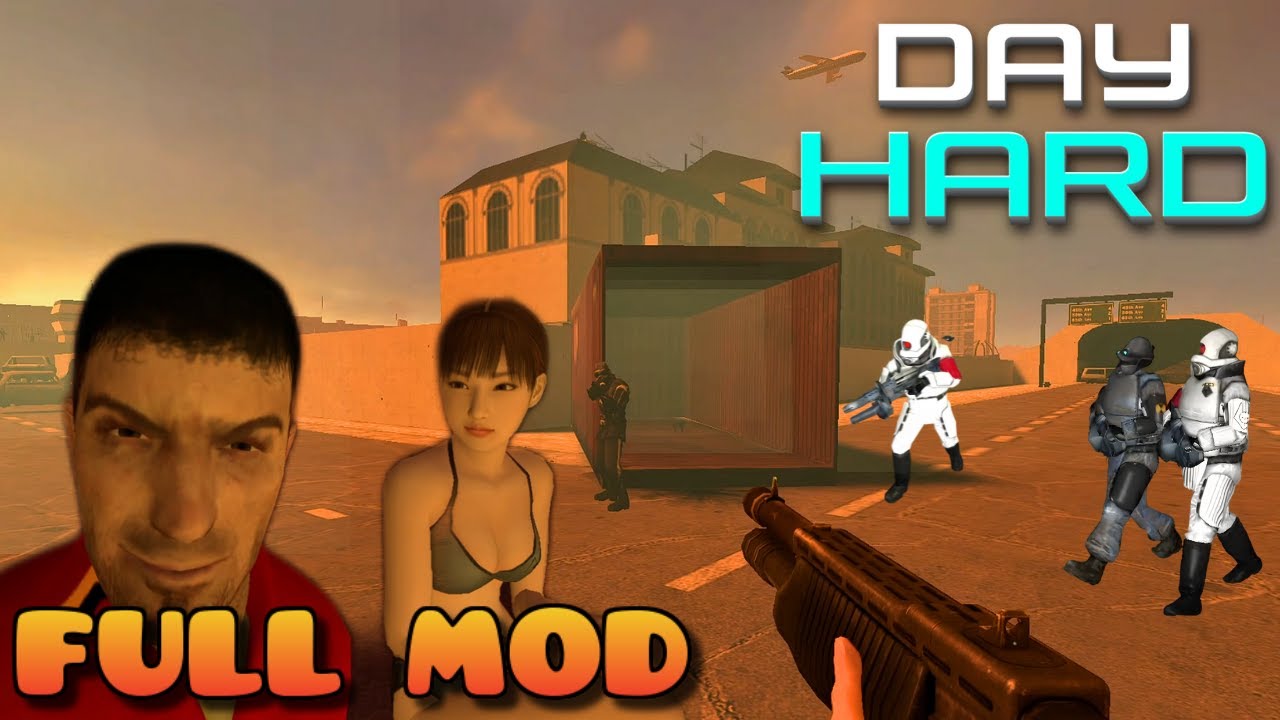
- Maps and Levels: Explore new maps or levels created by the community. These can range from single-player story maps to new multiplayer maps for online play.
- Game Modes: Add new game modes, including custom missions, co-op play, or even entirely new objectives and challenges.
- Graphics Enhancements: Upgrade the game’s visuals, including improved textures, lighting effects, and more detailed character models.
- Sound Mods: Modify the game’s sound effects, including new voice lines, weapon sounds, and background music.
- AI and Gameplay Mods: Improve the behavior of NPCs and enemies, or tweak game mechanics to make the game more difficult or realistic.
With these mods, you can truly customize Half-Life 2 to suit your preferences and experience the game in new and exciting ways.
3. Step-by-Step Guide to Installing Half-Life 2 Mods
Step 1: Locate Your Half-Life 2 Installation Folder
Before installing mods, you need to find your Half-Life 2 installation folder. If you’ve installed the game via Steam, the default directory is usually:
C:\Program Files (x86)\Steam\steamapps\common\Half-Life 2
If you have the retail version or installed it elsewhere, locate the folder where Half-Life 2 is installed. This is where you’ll place the mod files.
Step 2: Backup Your Game Files
Always back up your game files before installing any mods! This ensures you can restore the game to its original state if something goes wrong. Simply copy the entire Half-Life 2 folder to another location on your computer or an external drive.
Step 3: Install the Mod Files
Now that you’ve backed up your files, it’s time to install the mods. Most mods come with installation instructions, but here’s a general overview of the process:
- For Weapon Mods: Extract the weapon mod files into the
\Half-Life 2\hl2folder or the\Half-Life 2\customfolder. - For Maps: Extract the map files into the
\Half-Life 2\mapsfolder. - For Graphics Mods: Extract the texture and model files into the
\Half-Life 2\materialsor\Half-Life 2\modelsfolders. - For Game Modes: Follow the mod’s specific instructions to ensure it is installed correctly. This often involves placing files in the
\Half-Life 2\customfolder.
Step 4: Activate the Mods in the Game
Most mods will be automatically activated once you’ve extracted the files to the correct folder. However, some mods may require you to enable them through the game’s options menu or through a third-party mod manager.
Step 5: Restart Half-Life 2
Once you’ve installed and activated the mods, restart Half-Life 2 to ensure that the mods take effect. You should now be able to enjoy the new content and features added by the mods!

4. How to Organize and Manage Your Half-Life 2 Mods
As you accumulate more mods, managing them can become tricky. Here’s how to keep things organized:
- Use a Mod Manager: Tools like Nexus Mod Manager can help you organize and activate your mods more efficiently.
- Sort Mods by Type: Create folders for different types of mods (weapons, maps, game modes, etc.) for easy access and removal.
- Keep Backups: Always back up your favorite mods in case you need to reinstall them later.
5. Troubleshooting Common Half-Life 2 Modding Issues
If you encounter issues with mods, here are some common problems and how to resolve them:
- Game Crashes: Crashes are often caused by incompatible mods. Disable all mods and enable them one by one to identify the problematic one.
- Mods Not Showing Up: Ensure that the mod files are placed in the correct folder. Check the mod description for specific installation instructions.
- Missing Textures or Models: Missing assets usually occur if the mod wasn’t extracted properly. Make sure all the necessary files are extracted into the appropriate directories.
6. Best External Resources for Half-Life 2 Modding
For more mods, troubleshooting help, and modding communities, check out these external resources:
- ModDB – Half-Life 2 – A great source for all kinds of mods.
- Nexus Mods for Half-Life 2 – A popular platform for downloading mods and reading reviews.
- Half-Life 2 Wiki – The official community hub for modding and game updates.
7. Conclusion: Make the Most of Your Half-Life 2 Experience with Mods
Modding Half-Life 2 is one of the best ways to extend your time in this iconic first-person shooter. Whether you want to enhance the game’s visuals, add new weapons, or try out custom game modes, mods open up a world of possibilities. By following this guide, you’ll be able to easily download, install, and manage mods, giving you endless ways to enjoy Half-Life 2 in fresh new ways!
Quick Tip
Always check for mod compatibility! Some mods may not work well with others, so always read the mod description and user reviews before installing to ensure they are compatible with your version of the game.
Alert: Backup Your Game Files!
Before installing any mods, always back up your original game files. This way, if anything goes wrong, you can quickly restore your game to its original state without losing your modding progress.
wow really works 😂