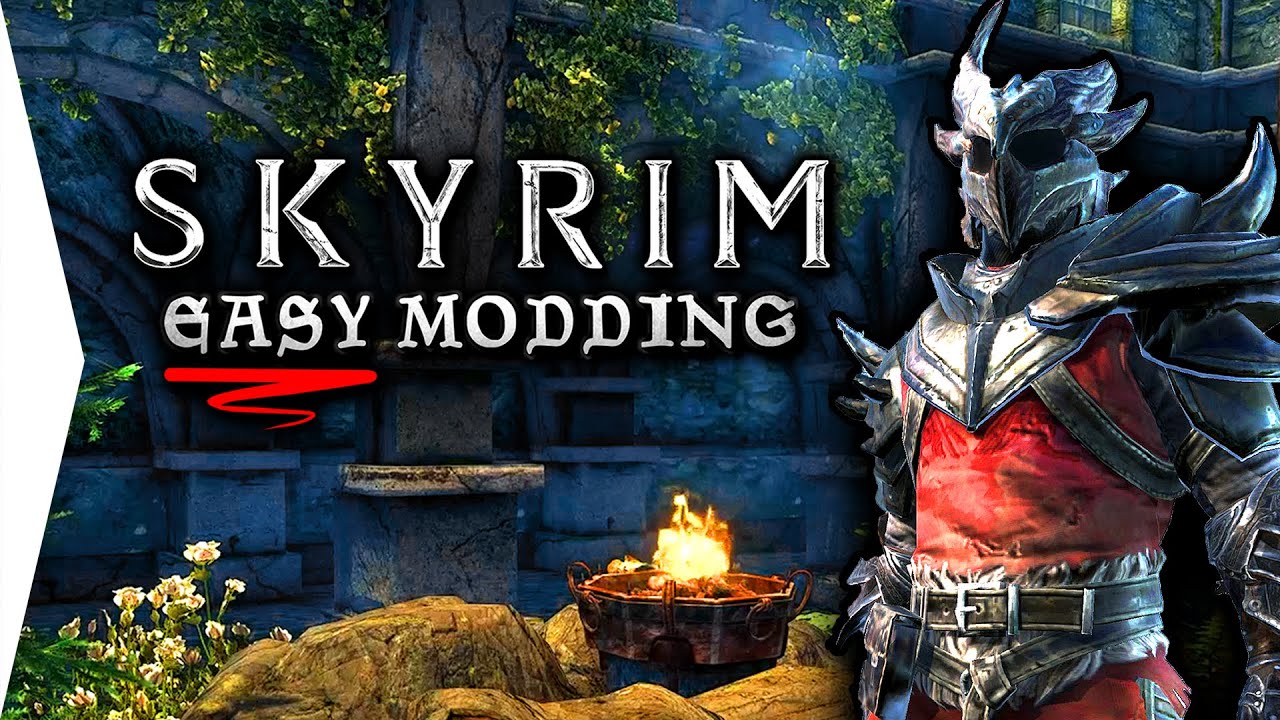
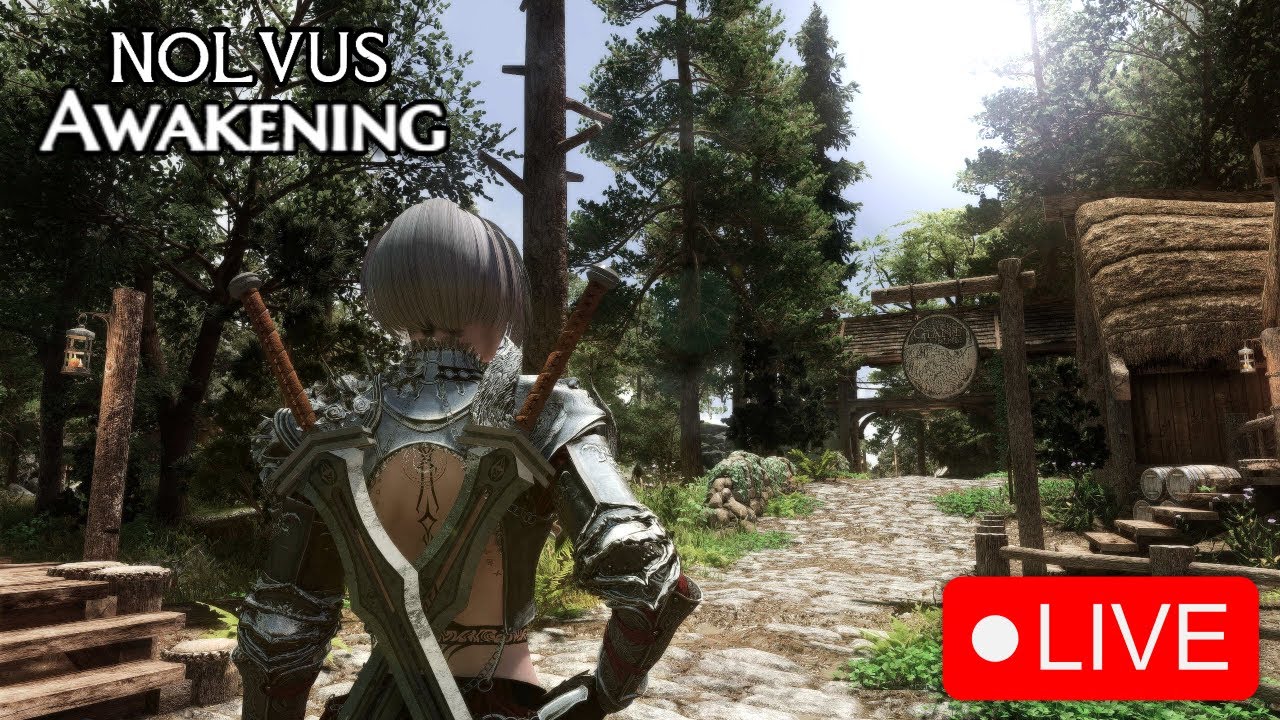
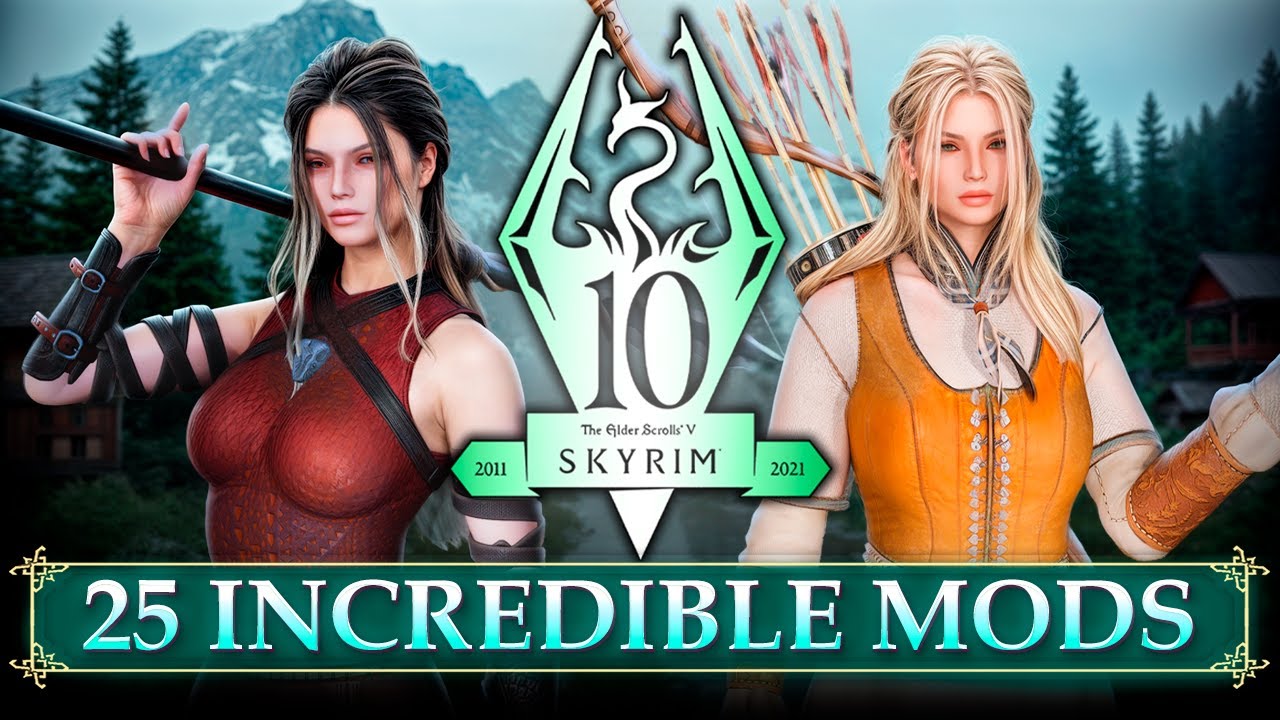
Modding The Elder Scrolls V: Skyrim is one of the best ways to enhance your gameplay experience. Whether you’re looking for new characters, quests, weapons, or graphics improvements, mods can take Skyrim to a whole new level. In this guide, we’ll walk you through the process of downloading, installing, and managing mods for Skyrim. We’ll also cover troubleshooting common issues and provide external resources for further support.
Table of Contents
- Introduction
- How to Download Skyrim Mods
- How to Install Skyrim Mods
- How to Manage and Organize Skyrim Mods
- Troubleshooting Skyrim Mods
- External Resources
- Conclusion
1. Introduction
The Elder Scrolls V: Skyrim has one of the most vibrant and active modding communities. Mods can improve everything from the game’s graphics to its gameplay mechanics. In this guide, we’ll show you how to install Skyrim mods, organize them effectively, and troubleshoot any issues that might arise. By the end of this guide, you’ll be able to modify your game to your heart’s content and enhance your Skyrim experience!

2. How to Download Skyrim Mods
Finding Trusted Modding Websites
There are several websites dedicated to Skyrim mods. Always make sure to download mods from trusted sources to avoid potential issues like malware. Some of the best-known websites for Skyrim mods include:
Browse these sites for mods, whether you’re looking for visual upgrades, new weapons, armor, or even new storylines and quests. Most mods will be downloaded in .zip, .rar, or .7z formats.
Choosing Your Mod
Once you’ve found a mod that interests you, click on the download button. Be sure to read through the mod description and the installation instructions. Many mods come with extra requirements like other mods or specific DLCs, so be sure you’re aware of those before you begin.
3. How to Install Skyrim Mods
Step 1: Locate Your Skyrim Installation Folder
By default, Skyrim is installed through Steam. The typical path for the Steam installation is:
C:\Program Files (x86)\Steam\steamapps\common\Skyrim
If you’ve purchased the game through a different platform, the installation directory may vary. Ensure that you’re working within the correct Skyrim directory.
Step 2: Backup Your Game Files
Before installing any mods, it’s essential to back up your game files. This allows you to restore your game to its original state if any issues occur during the modding process. Copy the entire Skyrim directory to a safe location, such as an external drive or a different folder on your computer.
Step 3: Install the Mod Files
Most Skyrim mods are installed by simply extracting the files to the correct folder. There are a few key folders you will be working with:
- Data Folder: The majority of mods should go here. You’ll place the mod’s
.espor.esmfiles in this directory. - Skyrim Script Extender (SKSE): Some mods require SKSE, a tool that expands Skyrim’s scripting capabilities. You can download it from here.
After downloading your mod, extract the mod’s files and place them into the relevant folder. Some mods may come with an installer; simply follow the instructions provided.
Step 4: Use Mod Managers (Optional)
If you prefer a more organized method, you can use a mod manager to handle your mods. A popular tool is Nexus Mod Manager or the Vortex Mod Manager. These tools help you install, enable/disable, and update mods with ease.
Step 5: Activate the Mods
Once your mods are installed, you can activate them through the Skyrim Launcher. Open the Skyrim Launcher and navigate to the Data Files section. From there, you can check the box next to the mods you’ve installed to activate them. If you’re using a mod manager, it may handle this step automatically for you.

4. How to Manage and Organize Skyrim Mods
Managing mods can become a bit tricky, especially as you accumulate more. Here are a few tips to help you stay organized:
- Use a Mod Manager: A mod manager like Nexus Mod Manager or Vortex Mod Manager can help you keep track of which mods are installed and active. These tools also make it easier to uninstall mods if necessary.
- Create a Mods Folder: If you prefer manual installation, create a
Modsfolder within the Skyrim directory to keep all your mod files organized. - Keep Backup Copies of Mods: If you’ve made modifications to certain mods, keeping a backup copy will help restore the game in case of errors or crashes.

5. Troubleshooting Skyrim Mods
If you experience issues after installing mods, here are a few common problems and how to fix them:
- Game Crashes or Freezes: Crashes can be caused by incompatible mods or incorrect installation. Try disabling all mods and re-enable them one at a time to identify the problem. You can also try using the Crash Fixes mod to improve stability.
- Missing Files or Missing Textures: If you see missing textures or meshes, ensure that you’ve followed the mod’s installation instructions correctly. Verify that you’ve extracted all files and placed them in the correct folders.
- Mods Not Showing Up: Ensure that the mod is activated in the Skyrim Launcher’s Data Files tab. If you’re using a mod manager, make sure the mod is enabled.
6. External Resources
For further assistance and additional Skyrim mods, check out these helpful resources:
- Nexus Mods – The largest repository of Skyrim mods.
- SkyrimMods.com – A collection of quality mods for Skyrim.
- Skyrim Script Extender (SKSE) – Essential for many advanced mods.
- Skyrim Mods Subreddit – Join the Skyrim modding community to discuss mods and get support.
7. Conclusion
Modding The Elder Scrolls V: Skyrim can completely transform your gameplay experience. By following the steps in this guide, you can easily download, install, and manage your mods, as well as troubleshoot common issues. Whether you want to improve graphics, add new content, or change gameplay mechanics, there’s a Skyrim mod for nearly everything. Enjoy your newly modded Skyrim experience!
Important Reminder
Always back up your game files before installing mods! Modding can sometimes cause unexpected issues, so it’s important to create backups of your game’s original files. This ensures you can restore your game to its original state if anything goes wrong. Additionally, always download mods from trusted sources and check the mod’s compatibility with your current game version before installing.


